Pour Over Coffee for Beginners: How to Brew Your First Great Cup
Most people who try pour over for the first time make the same mistake. They fixate on the numbers. Brew time, grams, water temperature. They watch the timer like something terrible will happen if it runs ten seconds long. And then they wonder why the cup still tastes flat or bitter or just wrong.
The numbers matter, but they don’t save a bad pour. Technique does. And once you understand that, pour over stops being intimidating and starts being one of the most satisfying ways to make coffee at home.
This guide walks you through what pour over actually involves, the steps most beginners miss, and how to brew your first decent cup without needing years of experience behind you.
What Makes Pour Over Different From Other Brewing Methods
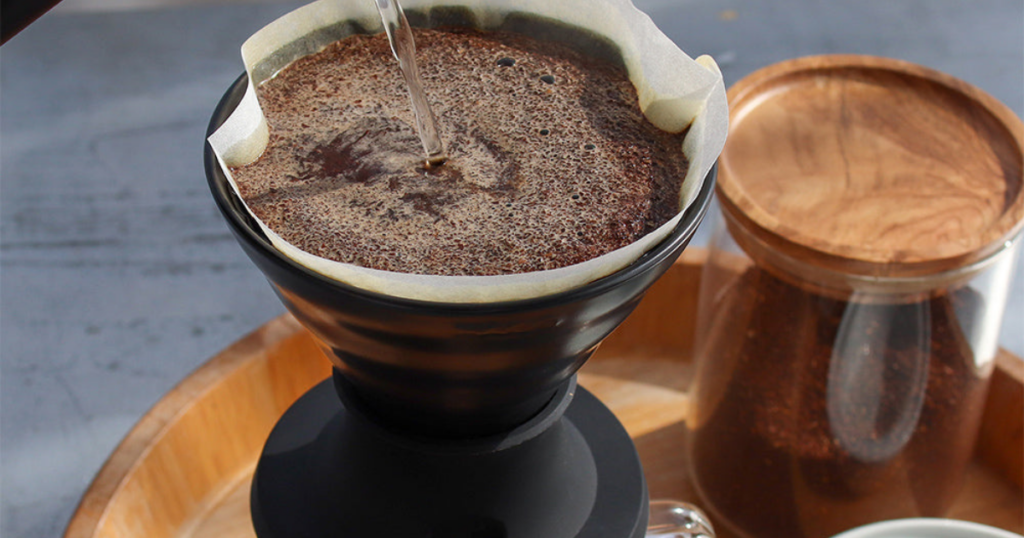
Pour over is a manual brewing method. Hot water passes through ground coffee in a filter, and gravity pulls the brewed coffee down into a cup or server below. No pressure, no automation, no machine making decisions for you.
That sounds simple, and in some ways it is. But the reason pour over produces such a clean, expressive cup is precisely because every variable is in your hands. The speed of your pour, the pattern, the pauses between pours. All of it affects what ends up in the cup.
Automatic coffee machines remove that control, which makes them convenient but limits what they can do with a genuinely good coffee. Pour over lets the coffee express itself fully, which is why specialty roasters tend to recommend it for showcasing interesting origins like a honey process lot or a naturally processed Ethiopian.
The learning curve isn’t steep. It just requires paying attention to the right things.
Before You Brew: What You Actually Need
You don’t need a lot of equipment to start, but what you choose matters.
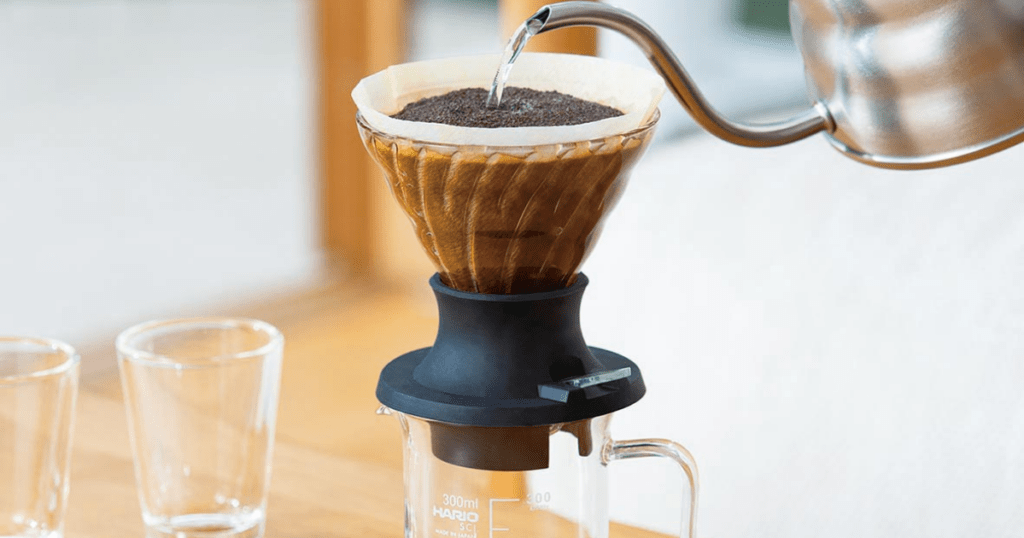
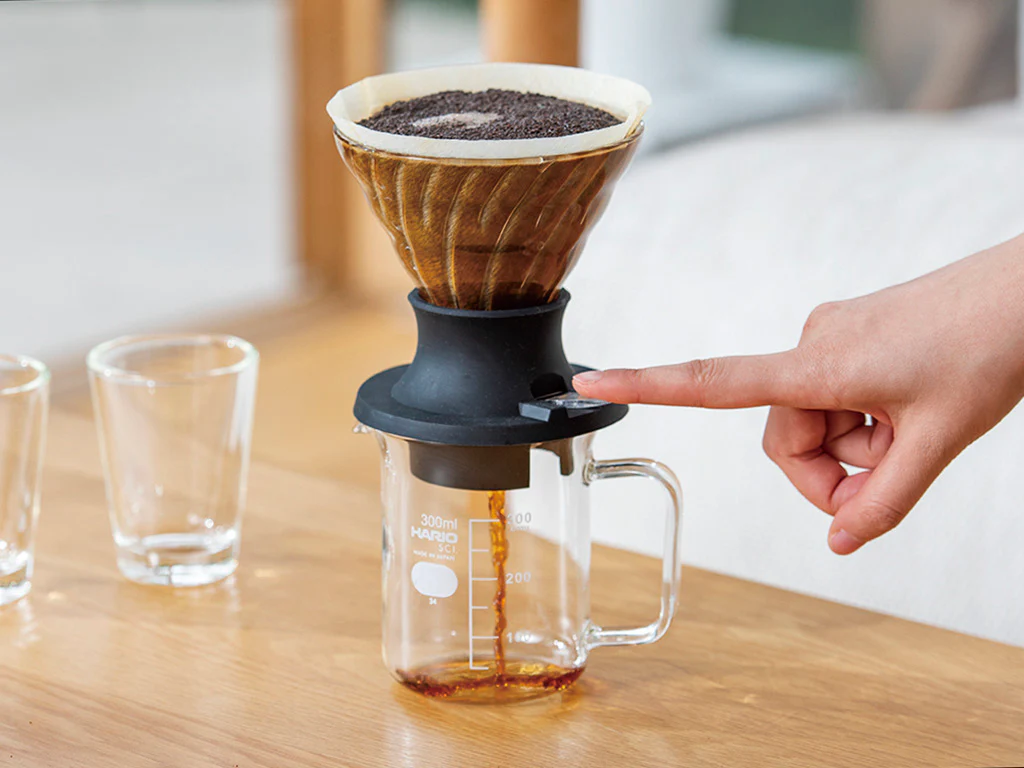
For beginners, the Hario Switch is worth serious consideration. It looks like a standard pour over dripper, but it has a small switch at the bottom that lets you toggle between immersion and drip mode. In immersion mode, water sits in contact with the grounds before you release it. That gives you more control over extraction and more time to develop your technique without the coffee punishing every small mistake. It’s genuinely forgiving in a way that a standard V60 isn’t.
Beyond the dripper, here’s what you need:
- A server or cup to brew into
- Hario paper filters that match your dripper
- A kettle, ideally with temperature control
- A digital scale in readability measures in exact 0.1 grams increments. NO kitchen scale
- Freshly ground coffee, medium-fine grind
That’s it. You don’t need a special pouring kettle with a precision gooseneck spout on your first attempt, though it helps later. You don’t need a subscription to a specialty roaster. Start with what you have, get the process right, then upgrade.
The Steps Most Beginners Skip (And Why They Matter)
These aren’t optional extras. Skipping any one of them will affect your cup in ways that have nothing to do with your brewing technique.
Pre-wet your paper filter. Place the filter in the dripper, set it over your server, and pour hot water through it before you add any coffee. This removes the papery taste that would otherwise end up in your cup, and it warms the dripper and server at the same time. Then pour that water away.
Discard the rinse water from your server. This sounds obvious but gets forgotten constantly. If you pre-wet the filter and let that water sit in your server, your brewed coffee is diluting into already-warm but papery water. Empty the server before you start.
Start your timer when water first touches the coffee. Not when you pick up the kettle. Not when you finish the bloom pour. The moment water hits the grounds, the clock starts. Consistency in timing only means something if you’re measuring the same thing every time.
Measure your output. Before you brew, know your target. If you’re brewing 250ml, know that. Weigh the empty server before you start so you can track exactly how much coffee has dripped through. Guessing the output means you have no reliable data to adjust from on your next brew.
None of these steps take more than thirty seconds each. Together they give you an honest baseline to work from.
Why Technique Matters More Than Your Numbers
Here’s what happens to most beginners. They find a recipe online, 15 grams of coffee, 250ml of water, brew time three minutes, and they follow it exactly. The timer hits three minutes and the cup still tastes wrong. So they adjust the ratio, try a different grind setting, obsess over water temperature. The numbers keep changing but the cup doesn’t improve much.
What they haven’t touched is water flow.
How fast you pour, how high you hold the kettle, whether you pour in circles or straight down the middle, when you pause and for how long. These are the variables that actually determine how evenly the water extracts from the grounds. Uneven extraction is why coffee tastes simultaneously bitter and sour, why it lacks sweetness, why it feels thin.
The Hario Switch helps here specifically because immersion mode takes water flow out of the equation for part of the brew. You pour water in, close the switch, let it sit, then open the switch to let it drain. That contact time is more forgiving than trying to nail a continuous pour while you’re still learning what good flow feels like.
Once you switch to drip mode, focus on pouring slowly and evenly. Keep the kettle low over the bed of coffee. Pour in gentle circles from the centre outward. Pause when you need to. Let the bed settle before the next pour. The timer is just a reference point, not a finish line.

Your First Brew: A Simple Starting Recipe
Use this as a framework, not a rigid formula.
- Coffee dose: 15 grams
- Water: 250ml at 90 to 92 degrees Celsius
- Grind size: Medium-fine, roughly the texture of coarse sand
- Target brew time: 2 minutes 30 seconds to 3 minutes 30 seconds
Step by step using the Hario Switch:
- Pre-wet the filter, discard rinse water, tare your scale to zero.
- Add 15 grams of ground coffee, give the dripper a gentle shake to level the bed.
- Close the switch on the Hario Switch so it’s in immersion mode.
- Start your timer. Pour 50ml of water slowly over the grounds, making sure all the coffee is wet. This is the bloom pour. You’ll see the coffee puff up and release gas. Let it sit for 45 seconds.
- Pour the remaining 200ml of water in two or three slow, circular pours, pausing briefly between each.
- Open the switch at around the two-minute mark and let the coffee drain fully into your server.
- Note your total brew time and taste the cup before you add anything to it.
On your second attempt, change one thing. If the cup tasted bitter, try a slightly coarser grind or pour a little faster. If it tasted sour or thin, try a finer grind or slower pour. Adjust one variable at a time so you actually know what changed the flavor.
When Home Brewing Isn’t Enough
Self-teaching gets you a long way. You can follow recipes, watch videos, read guides like this one, and end up with a consistently decent cup at home. That’s genuinely worth doing.
But there’s a ceiling to what you learn alone. Without someone watching your pour and telling you what’s actually happening, you can spend months correcting the wrong thing. The feedback loop is slow, and bad habits settle in quietly.
Hands-on training changes that. When you brew in front of an experienced trainer, you get immediate, specific feedback on the things that are actually limiting your cup. Not general advice. The exact reason your extraction is uneven, or why your bloom looks flat, or what your pour pattern is doing to the bed.
At Lighthouse Academy in Perai, our brewing courses are built around exactly this kind of practical, guided learning. You’ll work with real equipment, real coffee, and come away with a clear understanding of what you’re doing and why it works.
If you’re serious about pour over, a single session will move you further than six months of solo practice.
Join a brewing course at Lighthouse Academy – SCA Brewing Foundation Level
For More Article
What Is Honey Process Coffee? A Simple Guide to the Sweetest Method in Specialty Coffee
What Is Washed Processing? A Beginner’s Guide to One of Coffee’s Most Important Methods
What Is Natural Processing? How the Sun Turns Coffee Cherries into Flavor
Video – Hario Switch Immersion Brew Recipe – Matt Winton (World Brewers Cup Champion)